Making a no-sew ring sling
How to make a “no-sew” ring sling -- really, no sewing required!
This uses the concept of a d-ring belt or a saddle cinch to attach a pair of rings to both ends of a piece of fabric, making an adjustable hammock to carry your baby. I am not sure who first thought to do this with a baby sling and not just a belt. SleepingBaby.net may have been one of the first to bring this idea to the US audience, using great synergy to help the HUGS project.
First, you need a piece of cloth that is 26”-36”wide and at least 86” long. If you are plus sized, you will need a longer scarf, but the width will stay about the same. It’s nice if it is a hemmed/finished scarf, but if it is raw material that still has the selvages intact, that will work too. You can hem the cut ends with iron on hem tape, or you can fringe them. As with any sling, you want the scarf/fabric to be breathable, and not too slippery. You will want size medium rings for lighter weight fabrics like the pashmina in the pictures, or large rings for use on a rebozo, or woven wrap. Just don’t use too light of a fabric: it needs to hold your baby!
| Now, hold your pair of rings together in one hand, parallel to the floor: |  |
| Bunch the end of the cloth in your other hand and bring it up through both rings. | 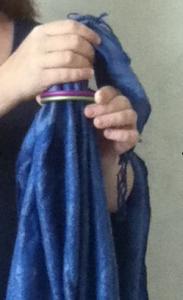 |
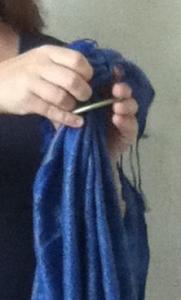
Now, still holding the fabric in the same hand, take the end of the cloth back down, passing first over the top ring and then under the bottom ring. |
 |
| Pull the tail through about 6-10 inches. |  |
| The first threading, threaded through the rings | 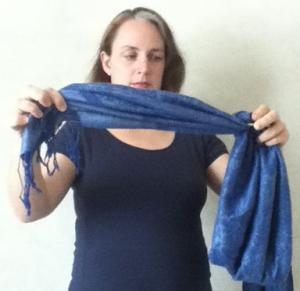 |
| Take a moment to spread the fabric evenly in the rings, so that there's a single layer of fabric all through the rings and it's not bunched up or overlapping itself. If it is left bunched up, it will force the rings apart and make the fabric more likely to slip through the rings accidentally | |
| FLIP the "tail" under and back over your shoulder allowing the
rings to rest, stacked on top of each other, in front of your shoulder in the "corsage" position.
Again, the short end of the fabric is underneath the long “free” end of the fabric, which is draped behind your back. |
 |
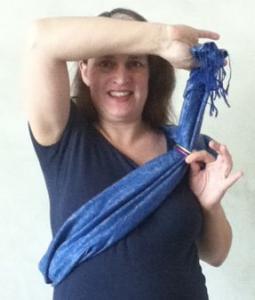
Make sure the fabric isn't twisted where it crosses your back and goes around your hip, and repeat the procedure by taking the other (free) end of the fabric up through both rings, and then back down over the top ring and under the bottom ring. Spread the fabric out in the rings, as above, to keep it from forcing the rings apart and make it more secure. |
 |
| Pull through to tighten until there is a little hammock left for your baby. | 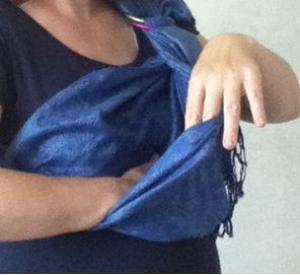 |
| Bring the bottom (inside) edge of the hammock up against your chest and settle the baby in. Tighten the top (outside) edge of the hammock by pulling it further through the rings, just on the edge. | 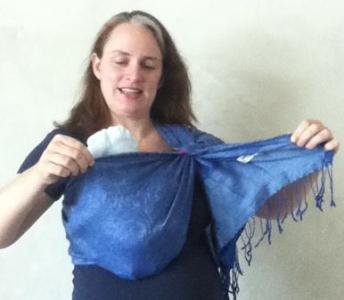 |
| Your baby should be high and tight on your chest (face at or above your armpits.) Be sure your baby is supported securely on your chest with their face clear of the fabric and with their neck flexed slightly back and supported by the rail of the sling. |  |
You can take your sling on and off and use it without re-threading, but be sure that the tail is locked under the shoulder pad each time.


 Login Status